The Ultimate Toy Storage Checklist: A Step-by-Step Guide to Organizing Your Child’s Playroom
Introduction
Every parent knows the feeling: you step into the living room and find a sea of plastic dinosaurs, scattered LEGO bricks, and a half-eaten crayon that somehow ended up under the sofa. Toys multiply overnight, and without a system, they can quickly take over your home. The solution isn’t just buying more bins—it’s having a structured, repeatable process. That’s where a toy storage checklist comes in. A well-designed checklist transforms chaos into order, teaches children responsibility, and saves you hours of frustration. This article provides a comprehensive toy storage checklist that covers everything from initial sorting to ongoing maintenance. Whether you’re tackling a single playroom or a whole house, these steps will help you reclaim your space and keep it organized long-term.
Why a Toy Storage Checklist Matters
Before diving into the steps, it’s worth understanding why a checklist is essential. Without one, toy organization tends to be reactive—you shove things into a closet when guests arrive, only to have them explode again the next day. A checklist shifts you to a proactive system. It ensures you don’t overlook critical actions like purging broken items, labeling storage bins, or teaching your child to return toys after play. Moreover, a checklist reduces decision fatigue; you no longer wonder “Where does this puzzle go?” because the process is already mapped out. For children, a visible checklist (perhaps a picture-based version for toddlers) turns cleaning up into a game rather than a chore. Ultimately, this checklist is a tool for creating a sustainable environment where toys are accessible yet contained.
Step 1: Sort and Categorize
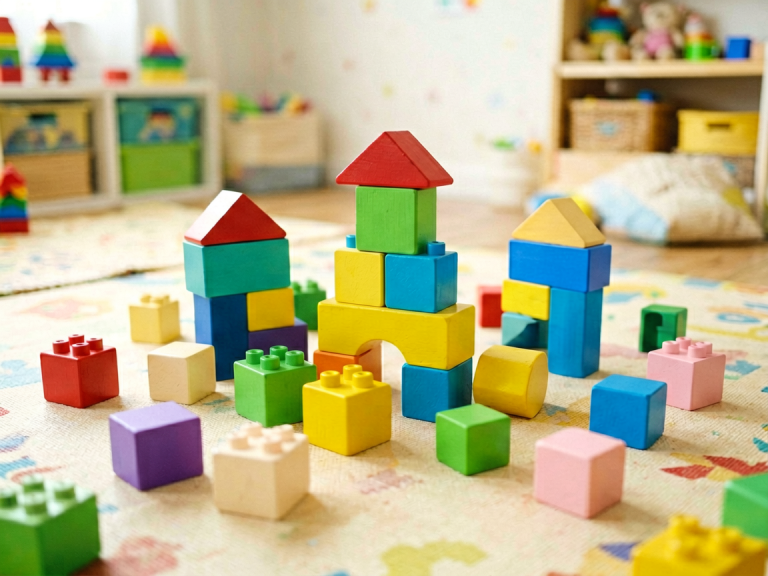
The first step in any toy storage checklist is sorting. Begin by gathering every toy from every room in the house—yes, even those hiding under beds and in the car. Dump everything into a central location (the living room floor works well) and then sort into broad categories. Common categories include: building toys (blocks, LEGO), arts and crafts, stuffed animals, board games/puzzles, action figures, vehicles, musical toys, and “small parts” (like marbles or beads). Use large bins or laundry baskets as temporary containers for each category. As you sort, immediately set aside any toys that are missing pieces, broken, or stained. This initial categorization is crucial because it reveals duplicates and gaps. For example, you might discover you own six incomplete puzzles, which signals that it’s time to purge.
Step 2: Purge and Donate
Once everything is sorted, the second step is ruthless purging. Follow the “one-in, one-out” rule or consider the three-pile method: keep, donate, discard. Discard anything that is broken beyond repair, has missing essential parts, or poses a safety hazard (e.g., frayed batteries, sharp edges). Donate toys that are in good condition but no longer hold your child’s interest—perhaps they have outgrown them or never played with them. Be honest: if a toy hasn’t been touched in six months, it’s unlikely to be rediscovered. To make this easier, involve your child in the process. Ask them to choose five toys to give to “other kids who need them.” This teaches generosity and reduces attachment. As you purge, add the items to a “toy storage checklist” entry: note what was removed and when. This helps you track whether you’re accumulating too many new toys too quickly.
Step 3: Choose the Right Storage Solutions
Now that you know what you’re keeping, it’s time to select storage that fits both the toys and your space. A common mistake is buying uniform bins without considering the size of the items. For example, large plush toys need open bins or shelves, while tiny cars need divided containers to prevent a jumbled mess. Consider these options:
- Clear bins with labels: Ideal for LEGO, small figurines, and craft supplies because children can see what’s inside.
- Open cubbies or shelves: Great for large items like trucks or dolls that children access frequently.
- Hanging organizers: Perfect for stuffed animals in a corner or behind a door.
- Drawer units: Useful for art supplies (crayons, markers, paper) to keep them flat and accessible.
- Rotating storage towers: Compact solutions for smaller playrooms that need to hold multiple categories.
When choosing, measure your available floor and wall space. Also consider child-friendly features: low shelves they can reach, lightweight bins they can carry, and rounded edges for safety. Add the chosen storage solutions to your checklist under “materials needed.”
Step 4: Label Everything
Labeling is the glue that holds the system together. Without labels, even the best-organized bins quickly become mystery boxes. Use picture labels for pre-readers and text labels for older children. You can buy pre-made label sets or create your own using a label maker and clipart. Attach labels to the front of each bin, shelf section, or drawer. Be specific: instead of “trucks,” write “Monster Trucks” if that’s the dominant type. For mixed categories, use a master label on the outside and a smaller list inside. For example, a “Board Games” bin might have a label that lists the four games inside. This step also applies to the floor—use tape or a rug to designate “car parking zones” or “reading corners.” When labeling, involve your child by letting them draw pictures or choose colors. This investment pays off because children quickly learn where items belong, making cleanup faster.
Step 5: Implement a Rotation System
Toys overwhelm children (and adults) when too many choices are available. A rotation system keeps things fresh while reducing clutter. Divide your toys into three or four groups, each stored separately. Keep only one group accessible in the playroom or living area; store the others in a closet, garage, or under the bed. Rotate these groups every two to four weeks. When you bring out a “new” group, children often rediscover forgotten toys with renewed enthusiasm. This system also protects toys from wear and tear. Include a “rotation calendar” on your toy storage checklist to remind you when to swap. Mark the date of the last rotation and which group was used. Over time, you’ll learn which groups your child loves most and can adjust accordingly. Rotation also makes the purge step easier because you’ll see which toys are consistently ignored.
Step 6: Daily and Weekly Maintenance
A toy storage checklist isn’t complete without a maintenance routine. Daily: set a five-minute “clean-up timer” before meals or bedtime. Children should put away toys they used that day into their designated bins. You, as the parent, can do a quick scan for stray pieces and return them to the correct bin. Weekly: do a deeper check. Re-sort any toys that have migrated to wrong bins, wipe down shelves and bins with a damp cloth, and inspect for broken items. Monthly: review the entire checklist. Is the rotation system working? Do you need additional storage? Are there new toys that require new categories? Adjust as needed. Also, maintain a “to-do” section in your checklist: for example, “order replacement batteries for the remote control car” or “donate the duplo blocks.” Documenting these tasks prevents them from slipping through the cracks.
Conclusion
A toy storage checklist is more than a list—it’s a living document that evolves with your family. By following these six steps—sorting, purging, choosing storage, labeling, rotating, and maintaining—you create a system that reduces stress, teaches organization skills, and preserves the joy of play. Remember that perfection isn’t the goal; consistency is. If one week the playroom looks messy again, simply revisit your checklist rather than feeling defeated. Start with one category (e.g., all stuffed animals) and build from there. The time you invest now will pay dividends every single day. Print out this toy storage checklist, customize it with your categories, and watch your home transform into a space where toys are treasures, not tripping hazards.