Word count: 1,230
The Ultimate Toy Rotation Checklist: A Practical Guide to Decluttering Your Home and Nurturing Your Child’s Development
—
Introduction: Why Toy Rotation Matters More Than You Think
Walk into any modern family home, and you will likely find a sea of plastic, fabric, and flashing lights spilling out of toy bins, baskets, and shelves. Parents struggle daily with the chaos of too many toys, while children often appear bored, overwhelmed, or unable to focus on a single activity for more than a few minutes. The solution is not to buy fewer toys (though that helps) but to manage them better. Enter toy rotation—a systematic approach to cycling toys in and out of a child’s play space. At the heart of this method lies the toy rotation checklist, a simple yet powerful tool that transforms playtime, reduces clutter, and supports cognitive, emotional, and social development. This article provides a comprehensive guide to creating and using a toy rotation checklist, complete with step-by-step instructions, practical tips, and a sample template that any parent or caregiver can adapt.
—
What Is a Toy Rotation Checklist?
A toy rotation checklist is a structured list that helps you organize, track, and schedule the toys your child has access to at any given time. Unlike a random purge or a one-time declutter, a checklist turns toy rotation into a repeatable, manageable routine. The checklist typically includes:
- Current active toys: Those displayed in the play area.
- Stored toys: Those kept in a closet, garage, or rotation bin.
- Categories: Such as fine motor, gross motor, imaginative play, construction, puzzles, art, and sensory.
- Rotation dates or intervals: Weekly, biweekly, or monthly.
- Notes: Child’s preferences, developmental stage, condition of toys, or missing pieces.
The checklist serves as both a planner and a log. It prevents you from forgetting which toys are in storage, ensures a balanced variety of play experiences, and helps you observe which toys truly engage your child.
—
The Science Behind Rotation: Why Children Thrive With Less
Before diving into the checklist mechanics, it’s essential to understand why toy rotation works. Research in child development and environmental psychology suggests that overchoice—having too many options—can lead to decision fatigue, reduced attention span, and less creative play. When a child faces a mountain of toys, they may flit from one to another without deep engagement. In contrast, a limited, curated selection encourages sustained focus, imaginative problem-solving, and mastery of skills.
A toy rotation checklist acts as a strategic filter. By intentionally choosing 8–12 toys (depending on age and space) for a two-week period, you create a “play diet” that nourishes different developmental domains. For example:
- Week 1: One set of building blocks, a simple puzzle, a pretend-play kitchen set, a stacking toy, two vehicles, a shape sorter, a sensory bin with rice, and a book.
- Week 2: Swap the blocks for a magnetic tile set, the puzzle for a threading activity, the kitchen set for a doctor’s kit, and so on.
This rotation not only refreshes novelty but also allows toys to be “rediscovered” with excitement after a break. Children often treat stored toys as new treasures when they reappear.
—
How to Build Your Own Toy Rotation Checklist: A Step-by-Step Guide
Creating a functional checklist requires thoughtful preparation. Follow these steps to design one that fits your family’s lifestyle and your child’s needs.
Step 1: Audit Your Toy Collection
First, gather every toy in your home—yes, every single piece. Sort them into three piles:
- Keep: Toys that are age-appropriate, in good condition, and genuinely enjoyed by your child.
- Store or rotate: Toys that are still useful but currently out of favor or redundant.
- Discard, donate, or sell: Broken toys, those your child has outgrown, or duplicates.
Be ruthless. A toy rotation checklist is only effective if the total inventory is manageable. Aim for no more than 40–60 toys total (including books and art supplies) for a preschooler. Any more, and you risk overwhelming the system.
Step 2: Categorize the “Keep” Toys
Organize the kept toys into broad categories. Common categories include:
- Fine motor: Manipulatives like lacing beads, puzzles, pegboards, threading toys.
- Gross motor: Balls, push-and-pull toys, ride-ons, climbing structures (if space allows).
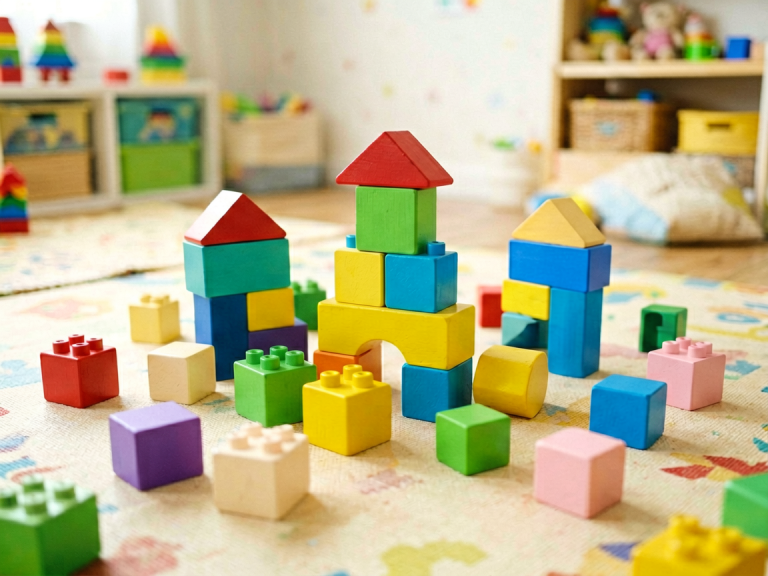
- Construction: Blocks, LEGO®-style bricks, magnetic tiles, Tinker Toys.
- Imaginative play: Dolls, action figures, play kitchens, doctor kits, dress-up costumes.
- Sensory and exploratory: Sand, water, play dough, kinetic sand, magnifying glasses.
- Art and creativity: Crayons, paints, play dough, stickers, scissors and paper.
- Music and sound: Small drums, shakers, xylophone.
- Books: Picture books, board books, simple early readers.
- Games and puzzles: Simple board games, matching games, jigsaw puzzles.
List each toy under its category. This becomes the raw material for your rotation.
Step 3: Determine Rotation Frequency and Storage
Decide how often you will rotate. Common patterns:
- Weekly rotation: Best for toddlers (12–36 months) who benefit from high novelty and have short attention spans.
- Biweekly rotation: Ideal for preschoolers (3–5 years) who can sustain interest longer and benefit from deeper play.
- Monthly rotation: Works for older children (5–8 years) who have complex, multi-day projects.
Prepare storage bins labeled by category or by rotation number (Bin 1, Bin 2, etc.). Use clear plastic bins or opaque ones with labels. Store them in a closet, under the bed, or in an accessible garage. The checklist will tell you which bin to bring out next.
Step 4: Design Your Checklist Template
Your checklist can be a simple spreadsheet, a notebook page, or a laminated sheet you reuse with dry-erase markers. Include these columns:
| Rotation Week | Category | Toy Name | Condition Notes | Child’s Engagement (Low/Medium/High) |
| :— | :— | :— | :— | :— |
| Week 1 (Jan 1–7) | Fine Motor | Lacing beads | All strings intact; missing one bead | Medium |
| Week 1 | Construction | Wooden blocks | Good | High |
| Week 1 | Imaginative | Doctor kit | Stethoscope broken; replace | Low |
Add a “Rotation Date” column if you rotate on specific calendar dates. Over time, the “Engagement” column will reveal which toys your child loves, which collect dust, and which need repair or retirement.
Step 5: Execute the First Rotation
Select 8–12 toys from the checklist for the current period. Place them in the play area—ideally on low, open shelves so your child can see and choose freely. Hide the rest. After the period ends, pack away the active toys, bring out a fresh set, and update the checklist accordingly.
—
Best Practices for an Effective Toy Rotation Checklist
Even the best checklist needs fine-tuning. Here are proven strategies to maximize its benefits:
1. Rotate by theme or skill group. Instead of random mixes, intentionally pair toys that complement each other. For example, a rotation focusing on “construction” might include magnetic tiles, a small tool set, a book about buildings, and a play mat with roads.
2. Include a few “always available” favorites. Some children have a security toy—a stuffed animal, a favorite car, or a beloved book. Keep these permanently accessible. The checklist should note these as “non-rotating.”
3. Involve your child in selecting the rotation. For older toddlers and preschoolers, let them help choose which toys go into the next bin. This builds a sense of ownership and reduces resistance when toys are packed away.
4. Observe and adjust. If a toy repeatedly scores “low engagement,” consider donating it. If a category is underrepresented (e.g., no gross motor toys), adjust future rotations. The checklist is a living document, not a rigid schedule.
5. Keep a “repair and replace” log. Use a separate section of the checklist to track missing pieces, broken parts, or batteries that need changing. This prevents frustration when your child finds a puzzle with a missing piece.
6. Rotate books and art supplies too. Many parents forget these. Rotating books keeps reading exciting. Similarly, store half the art supplies and swap them out to prevent dried-out markers and stale clay.
—
Common Pitfalls and How to Avoid Them
- Pitfall: Rotating too many toys at once. Start with 8–10 items. If your child seems overwhelmed, reduce to 6. If they seem bored, increase slightly.
- Pitfall: Forgetting to note missing pieces. Always check stored toys for completeness before bringing them out. A quick inventory column on your checklist saves disappointment.
- Pitfall: Storing toys out of sight, out of mind. Use clear bins with labels so you can quickly locate the next rotation. A digital checklist (Google Sheets or a notes app) also helps.
- Pitfall: Expecting perfection. Your child may ignore a new rotation for two days, then suddenly love it. Give each set at least one full week before judging.
—
Sample Toy Rotation Checklist Template
Below is a simple, printable checklist you can adapt. For brevity, I show a one-week example; extend rows for multiple weeks.
| Week # | Category | Toy | Condition | Engagement (1–5) | Notes for Next Rotation |
|————|————–|———|—————|———————-|—————————–|
| 1 (2/1–2/7) | Fine Motor | Wooden puzzle (farm) | All pieces | 4 | Keep; child loves it |
| 1 | Gross Motor | Push car | Wheels squeak | 3 | Oil wheels before next use |
| 1 | Construction | LEGO Duplo (20 pieces) | Missing 1 piece | 5 | Find replacement piece |
| 1 | Imaginative | Dollhouse with 3 dolls | Intact | 2 | Child prefers cars; swap next time |
| 1 | Sensory | Play dough with tools | Dough drying | 3 | Homemade dough lasts 2 weeks; replace |
| 1 | Book | “Goodnight Moon” | Worn spine | 4 | Rotate out next week; introduce “The Very Hungry Caterpillar” |
| 1 | Art | Crayons, paper | Ok | 3 | Add washable markers next rotation |
—
Conclusion: The Checklist as a Compass, Not a Cage
A toy rotation checklist is not meant to micromanage every moment of play. Rather, it is a compass that guides you toward intentional, clutter-free, and developmentally rich play environments. By systematically curating which toys enter your child’s world, you honor their need for novelty without overwhelming their senses. You also reclaim your living space and your sanity. The checklist evolves alongside your child—adapt it as they grow, as their interests shift, and as new toys enter the home. In doing so, you transform toy rotation from a tedious chore into a joyful ritual that benefits the whole family. Start today. Your child’s imagination—and your floor—will thank you.